Pages

Thursday, August 31, 2017

Happy Haunting!


Hi everyone! Have I mentioned that I love decorating for Halloween?! Well I do and I have another fabulous project showcasing the beautiful and spooky 'Spellbound' paper collection from Simple Stories!


I just love it when a paper collection isn't all cute-sy and sweet and this one is perfect for Halloween with dark, rich colors and creepy images!  Plus, the stickers included are freaky too and I knew they would look awesome in a Halloween shadowbox!


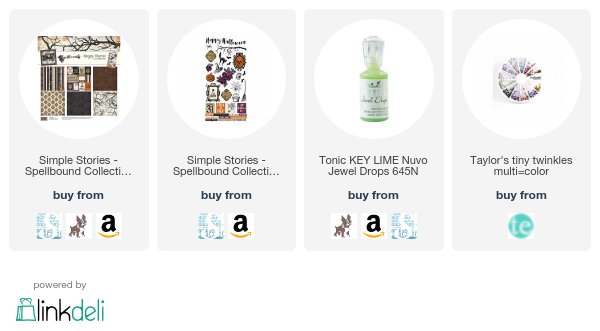
This shadowbox is about 6 inches square and has great little cubbies just waiting to be filled up and decorated. The large cubby is the main attraction and I wanted to give it lots of depth and dimension. I used a piece of the 'Something Wicked' paper to create the background and then used the tree branch sticker to create depth and give the spooky spider something to hang from. I propped the frame  up and layered more sinister 'Spellbound' stickers with it. If you look closely, you can see that I added a tiny purple gem to the eyeball and some jewel drops to the potion in the bottle!


Each of the smaller squares features layered pieces of the other patterned papers and are all topped with small square stickers from the collection! I popped up different parts in each square for more dimension and added a couple of small gems to the spider and web.


I didn't want to pass up using the great 'Happy Halloween' sticker that is included on the sticker sheet! I applied the bottom half to a folded piece of patterned paper, leaving the top portion of the words free. I adhered the paper to the top of the shadowbox and added in one small word sticker as well! Such a perfect addition to my scary Halloween decor!


Thanks for checking out my blog! Bee Happy!!

Supplies Used:
6" craft store shadowbox
Kaiser craft gems
silver thread
Wednesday, August 30, 2017

2017 Monthly Mini: August


Hi everyone! Whew, I'm barely squeaking this monthly mini scrapbook in before the end of the month! I just returned from a few days in sunny Los Angeles and realized I still had to post this adorable mini!


My cousin recently gave birth to a beautiful baby girl but the shower for her was held a couple of months ago and this was my gift to her! It is a 4x4 square album that folds up in the most interesting way. I found an album like it on Pinterest that was all in Spanish and centimeters and after watching that tutorial a few times, I modified the measurements and created a tutorial of my own!


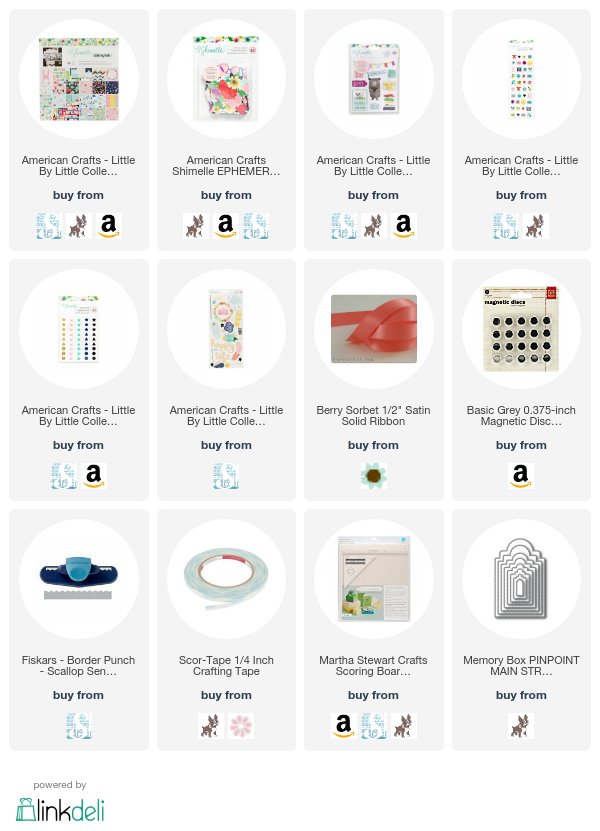
I used the adorable American Crafts 'Little by Little' paper collection by Shimelle to decorate and embellish this album. Bold color combinations & modern patterns highlight this versatile collection. Images of stars, florals and cute critters are presented in a fun palette of red, green, blue and yellow. Super sweet!


Even though the album is only 4 inches, there is still plenty of room for photos and mementos. This is the inside of the album all opened up. There are at least 5-6 spaces for photos and three pockets that can hold tags with more pictures.


The other side of the album doesn't have any pockets, but has an additional 7 spaces for photos! I included lots of other pieces besides patterned paper from this darling 'Little by Little' collection like the card stock stickers, puffy stickers, ephemera and enamel dots. Make sure to see the detail on all of the sections!


Below is a video tutorial of this album! Watch so you can create this super cute mini at home for yourself or a friend!


Thanks for checking out my blog! Bee Happy!!

Supplies Used:
Bazzil 12x12 card stock
American Crafts ribbon
Teresa Collins gold heart charm
Bella Creationz twine- yellow, aqua


Thursday, August 24, 2017

Garden Flowers!


Hi everyone! I love the color palette for the new Color Throwdown Challenge #457 this week! It is very clean and modern to me and I tried to create a card in the same vein.


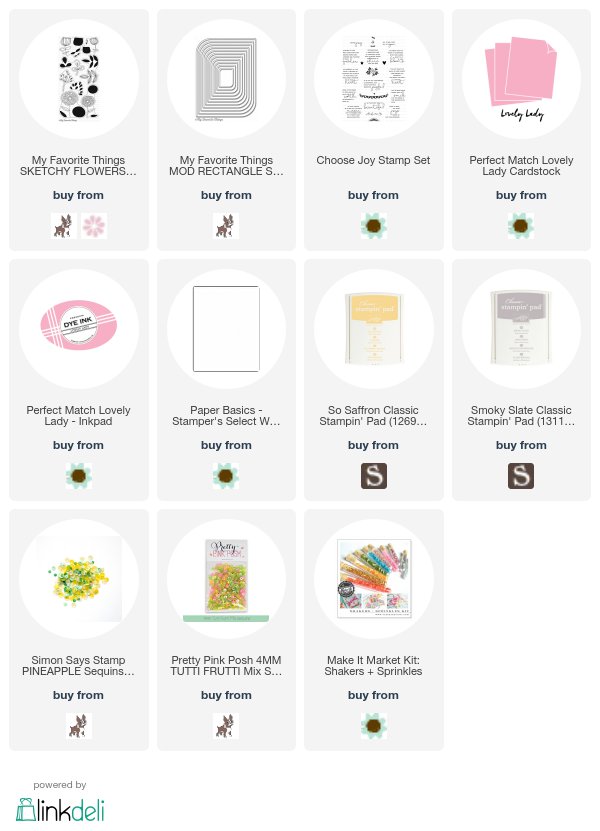
I was short on time so I decided to keep this card clean and simple and one layer. I stamped the colored parts of the blooms first in pink and yellow and then stamped the top image in a soft gray. So pretty!


The sentiment set from Papertrey Ink is full of the sweetest sayings and I had a hard time choosing which to use! I chose the garden one to fit in with my flowers and stamped it in the soft gray to. I added in a few varied size sequins in the pink and yellow for a subtle shine!


Thanks for checking out my blog! Bee Happy!!

Suplies Used:
Bazzil card stock
Cartwrights sequins


Tuesday, August 22, 2017

Camp Cube!


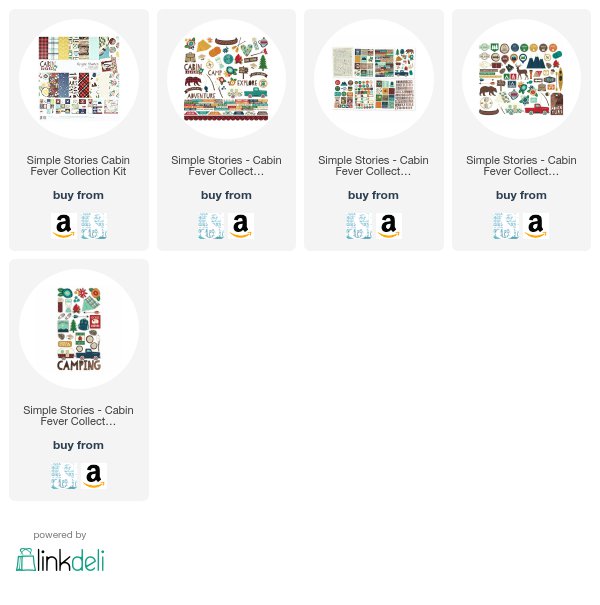
Hi everyone! I have another cute project using the Simple Stories super adorable 'Cabin Fever' paper collection! Even campers and cabins need cute decorations and this one fits the bill!

This 4x4 wooden cube was purchased at Michaels and I decided to leave it in its unfinished state for a very natural look. I cut slightly smaller squares of the patterned papers for each side and the top for a different look on each. Then I chose chipboard and sticker embellishments to layer over for even more fun!


For some of the embellishments, I used pop dots for a bit of depth! Each side has a combination of stickers, chipboard and the bits & pieces! Take a look at all of the sides in the pictures below. I just could not decide on a favorite- they are all so cute!


For the top, I rolled some of the patterned paper into a tube shape and cut the bottoming sections so it would fit flat onto the cube. I added a small wood sticker to the top and more of the charming embellishments  around it to give the cube a focal point.


This adorable camping cube would make any rustic space look awesome!

Thanks for checking out my blog! Bee Happy!

Supplies Used:

4" wood cube from Michaels

Friday, August 18, 2017

Hey Sugar!


Hi everyone! Another 'sweet' card on the blog today for the new Color Throwdown Challenge #456!  I must have sugar on the brain with all of the sweets and treats I've been posting!


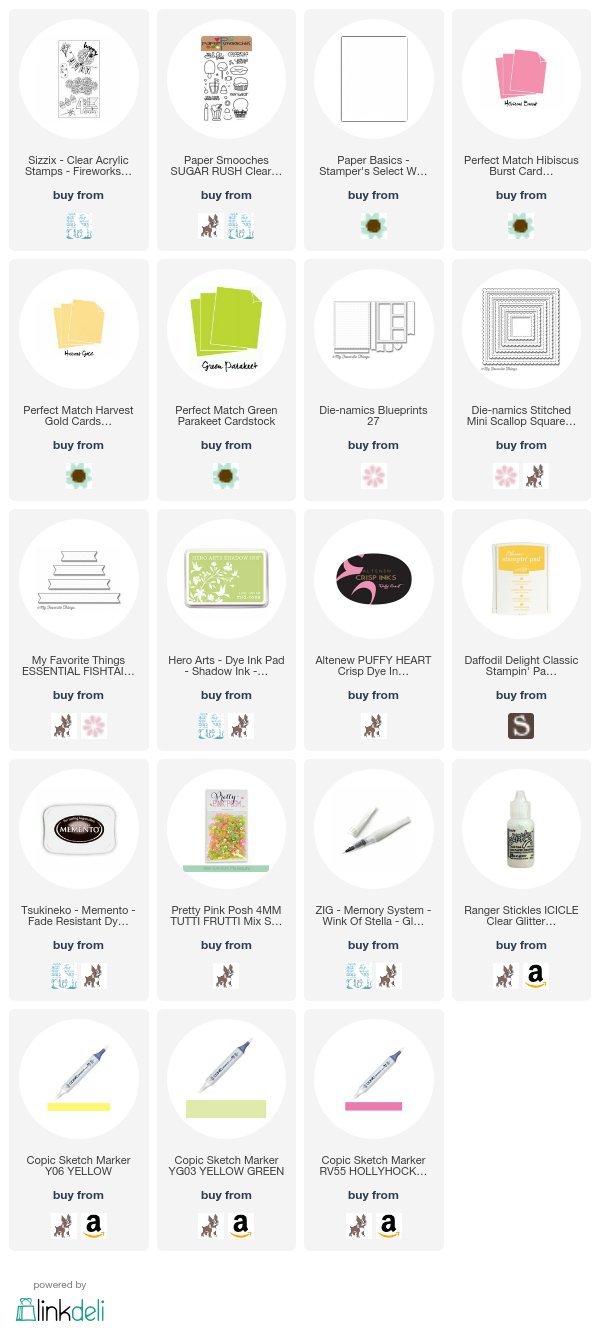
The colors for this challenge are bright and summery and I decided to do a mini shaker for the front of my card to show them off even more! Super cute!


The background was stamped first in the challenge colors and the tiny shaker was layered on top of that.  I filled the shaker with 4mm sequins and some tiny iridescent stars and gave it a topper of sweet little cupcakes in shades of pink, yellow and green!


I just love this sentiment from Paper Smooches and it fits perfectly with this card.  After getting everything adhered, I added in glitter onto the cupcakes and tiny glitter dots to the background! On the inside, I added a bit more of the background stamp and one more tiny cupcake.


Thanks for checking out my blog!  Bee Happy!!

Supplies Used:

Wednesday, August 16, 2017

Beware The Witching Hour!


Hi everyone! Fall is just around the corner and it's not too early to start thinking about Halloween! This is one holiday I love crafting for since there are so many great things to make! Decorations, costumes, scrapbooks and we cannot forget about the treats!

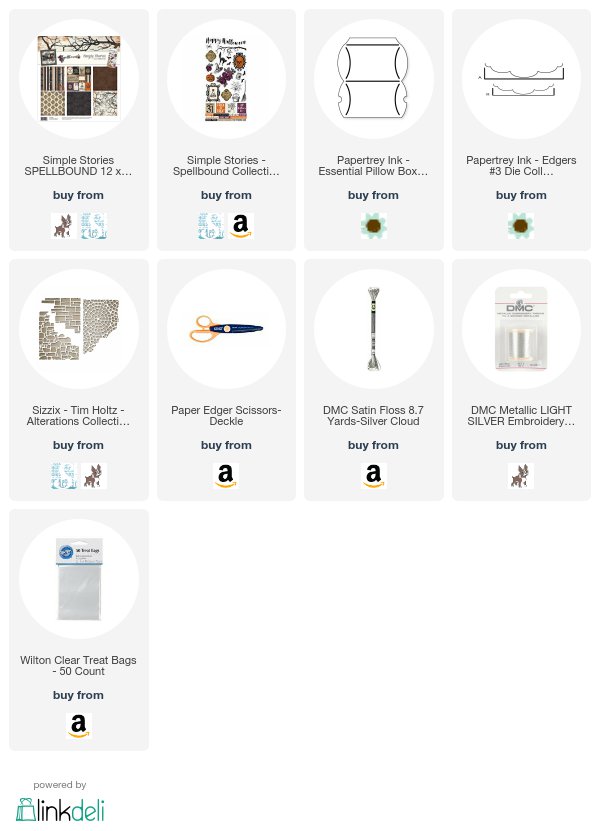
Nobody trick or treats at my house since we live way out in the boonies but I do have some nieces and nephews who so enjoy getting a handmade treat bag filled with goodies!  This charming set is all done up in the Simple Stories spooky "Spellbound' paper collection!


And what a great collection it is! Lots of dark colors and eerie images make this perfect for older kids and even adults! This pillbox was cut from a die and looks so awesome and scary embellished with paper and stickers from the collection! I even added in some glittery eyes to the skull!


This treat cone was so fun (and easy) to make. It only takes a 12x12 piece of patterned paper cut in half diagonally to create! This one has a paper handle and I dressed it up with a spider web looking die cut and lots of stickers from the collection. I even created a hanging charm with some of the stickers and then added in lots of paper curls! It holds quite a bit- there is a full sized candy bar in there along with lots of little treats!


Lastly, I made a bag topper from the spooky patterned paper and gave it extra flair using one of the 3x4 journaling cards cut into a fishtail flag. I layered on some more spooky stickers and paper curls before folding it half and attaching it to a plastic bag filed with goodies! As you can see from the pictures, I even dressed up the candy by wrapping them in small scraps of the collection papers!


Check out this great collection for some spooky and scary holiday decorating!

Thanks for checking out my blog! Bee Happy!!

Supplies Used:

Sunday, August 13, 2017

Life Is Sweet!


Hi everyone! I'm not the biggest ice cream fan... I would rather get the extra calories with chips or a cookie. But the newest Color Throwdown Challenge #455 really put me in the ice cream mood! 


I was inspired by not only the challenge colors but by the tissue paper and ice cream cone as well! I stamped an all over adorable ice cream cone image in the three shades and gave each a bit of glittery shine with tiny polka dots. 


The tiny hearts were stamped in coordinating colors along with the cute sentiment. I added a tissue paper border to the edge of the card and rounded two corners for a bit of interest! The final touch was the pastel enamel hearts in pink and turquoise.


Thanks for checking out my blog! Bee Happy!!

Supples Used:
Celebrate It tissue paper 
Prima Anna Maria Sugardot stickers

Wednesday, August 9, 2017

Summer Bouquet!


Hi everyone! I don't know about your neck of the woods but here in Colorado it has been raining and raining and raining... This is not our typical hot summer weather and I needed some color to brighten up my day. A cute jar of pretty flowers was just the thing!


The jar of flowers was stamped first in Memento ink and then colored in with Copic markers. To achieve the watercolor background with the white border, I applied a coat of rubber cement over the entire image adding extra for the border. I let it dry completely before I added in my bright background color wash.


After the watercolors were dry, I slowly and carefully peeled off the rubber cement and then added in a few details with a white Signo gel pen. To make the colors really pop I mounted the watercolor paper onto a bright pink background and then onto a simple kraft card base. I added in some rustic twine and a few candy dots for accent along with a simple but sweet sentiment.


Thanks for checking out my blog! Bee Happy!!

Supplies Used:
Kraft card stock
Bead Landing hemp cord
 Copic Markers
Deckle edge scissors
Related Posts Plugin for WordPress, Blogger...