Hi everyone! I am so excited to be the Guest Star Stamper for the Color Throwdown Challenge #467! There is another great color combo this week as well as an awesome inspiration pic!
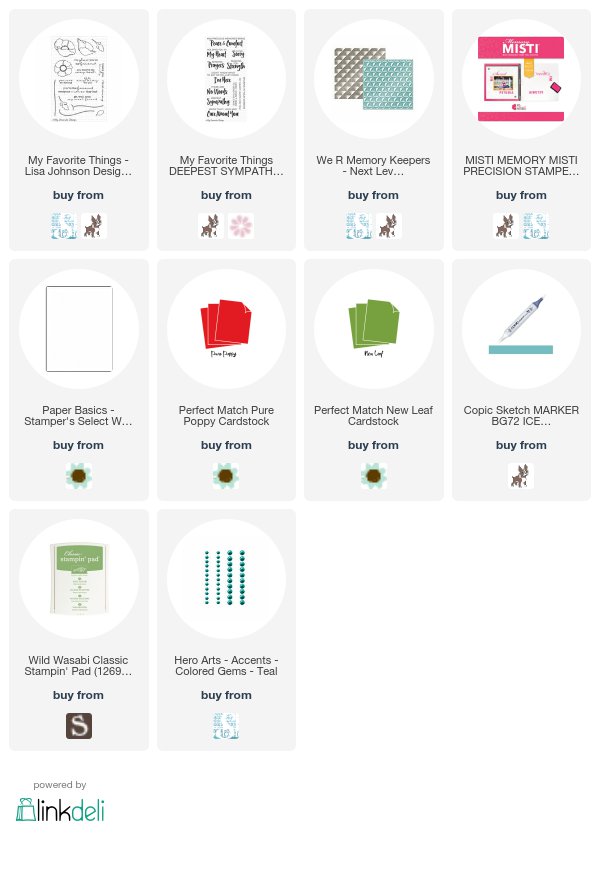
This weeks colors were the inspiration for my floral card but I did mimic the geometric pattern of the oven mitt on the background! I used a 'next level' embossing folder to create a wonderful quilted texture onto some bright red card stock and then stamped my poppies in the same bright red.
I aded in the green color with flower stems and a few leaves as well as a tiny bit by my sentiment. The design is rounded out with a touch of teal in the centers of the flowers along with the simple sentiment and sparkly gems!
Hi everyone! Boy oh boy do I love paper collections! I think it shows in all of the minis I create - they are the perfect way to show off fabulous paper and embellishments! Today, I am going to show you another mini of sorts that you can create- a Travelers Notebook!
Travelers Notebooks are so awesome for collecting memories, thoughts and mementos! They are not just for journaling: you can fill them with pictures too and now you can take your favorite paper collections and create your own! This gorgeous notebook showcases the 'Beautiful' paper collection from Simple Stories and I have even created a tutorial to help you make your own!
The notebook itself is made with sturdy chipboard and a few other basic supplies. I have included a couple of plain paper inserts with decorated covers in my notebook as well as a handcrafted insert using the papers of the collection!
My Travelers Notebook measures about 6" by 9" but you can always modify yours to fit your needs and/or the notebook inserts you want to use. You can also make your own notebook inserts as I did in this post! Please watch the video below or visit my Youtube channel for the tutorial! You will be so glad you did!
Hi everyone! I'm back today with a card for the current Color Throwdown Challenge #465. This weeks colors are a bold combo of purple, black and white which is very striking and pretty.
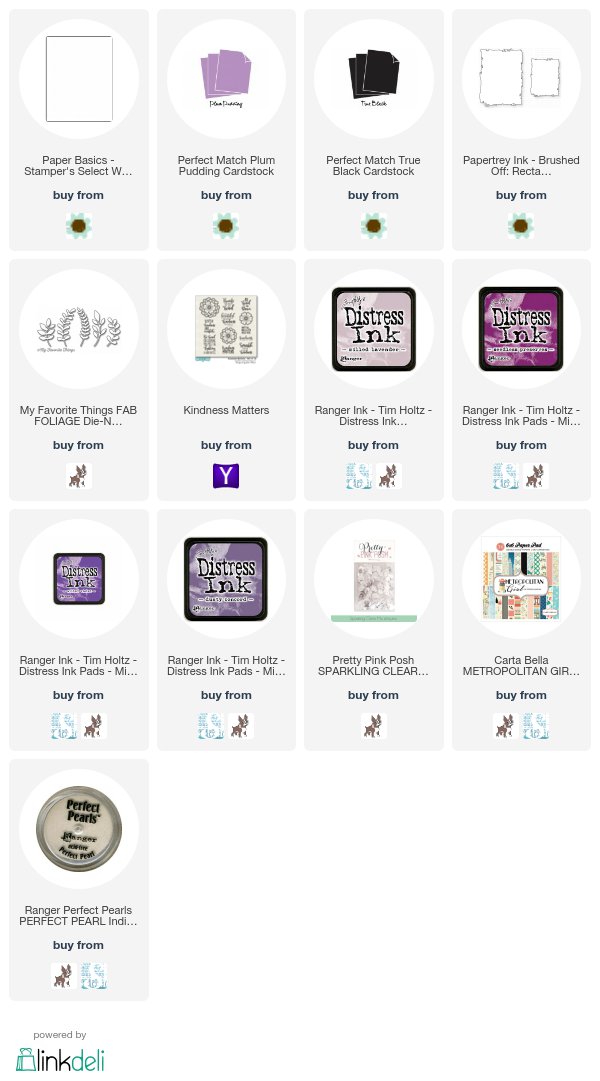
My card is a clean and simple design with an ombre inked background that was inspired by the inspiration photo! I used distress inks blended together and then finished with a spritz of perfect pearls and water for a subtle glimmer. I die cut an interesting shape out of bright white card stock to top off this pretty background and also stamped the sentiment on white.
For the black, I die cut some foliage which shows up so fabulously against the background and layered a piece of patterned paper behind everything! For a bit more of the challenge colors, I added in crystal white sequins and a lovely purple cabochon!
Thanks for checking out my blog! Bee Happy!!
Supplies Used: Stampin' Up Concord Crush flower cabochon from Etsy
Hi everyone! I like mixed media but usually just in small amounts, one thing at a time. Some watercolor here, some stenciling there.... not a lot of mixing of all the types! But recently I took a class with the awesome Vicki Boutin at the Ready, Set, Create event and had the opportunity to try out her mixed media products and boy was it fun!
We started with the gesso and then moved on to her super colorful art crayons and topped it all off with her stencils and fabulous iridescent glaze! We even got to use some of her stamps too! I am definitely a mixed media convert!
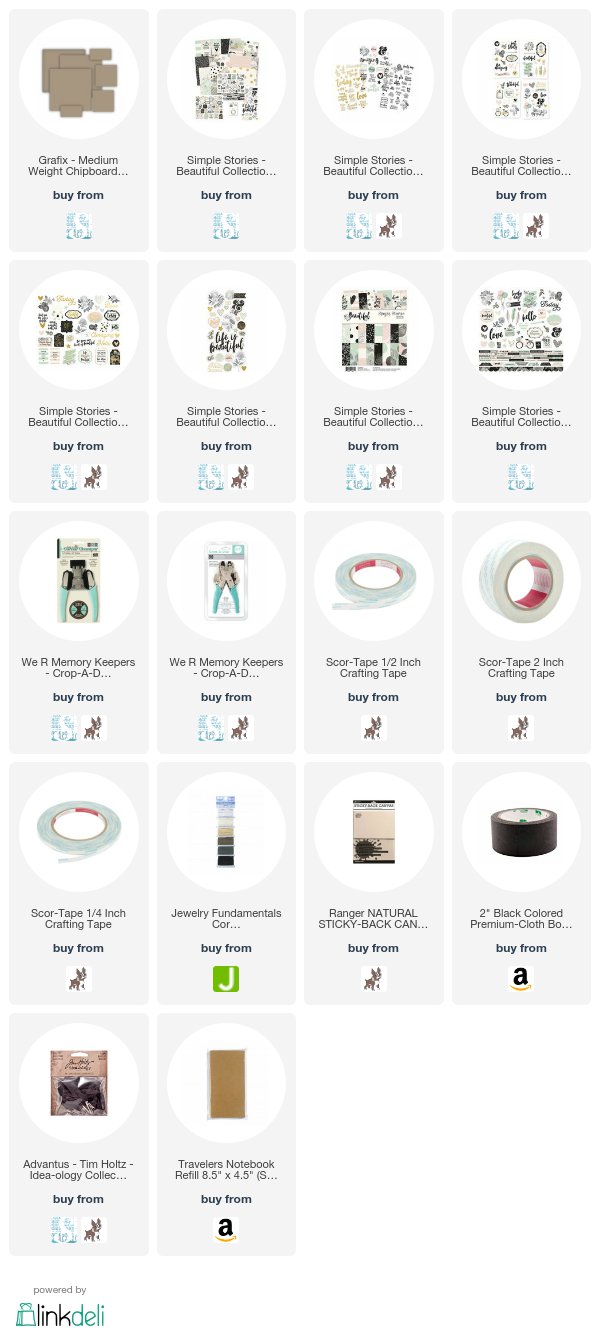
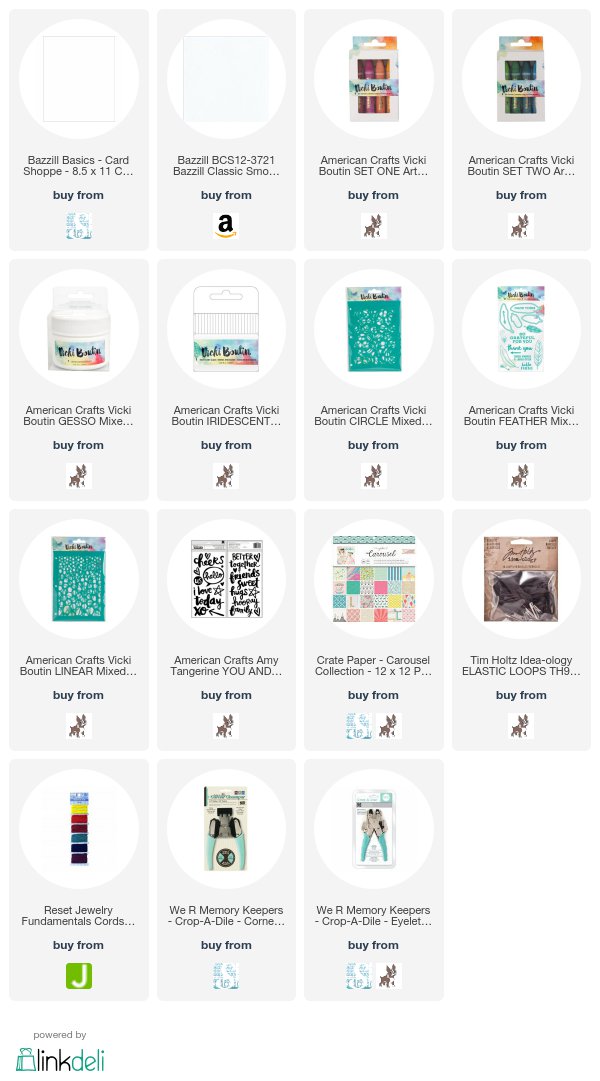
The whole class was based on layouts which I definitely DO NOT do but I knew I needed to use these gorgeous works of art that I created along with the 'Inked Rose' and 'Carousel' paper collections that were included in the class. When I got home from the event I had the brilliant idea to turn them into a travelers notebook and inserts! The 12x12 sheets, even though covered in gesso, paints and glaze, were very pliable and strong.
I picked out one sheet for the cover and cut it down to 8 1/2" by 11"for a nice sized travelers notebook. I punched two small holes at the center top and bottom, and then threaded yellow elastic cord through each hole twice so the notebook could hold four inserts- two smaller notebooks and two folded sections made with the patterned paper!
The notebook inserts were made with the other two beautiful mixed media art sheets I had created. I added plain copy paper into one and some grid paper in the other and then sewed them each down the center with my sewing machine. Each has 10 sheets total so they have a good amount of pages for journaling or mementos!
I made the other inserts by folding and cutting the 12x12 paper collections and then stacking them together in an interesting mix. The 'Carousel' chipboard pieces, along with more patterned papers and sequins, are layered on the front cover for decorations! Please watch the video below, or visit my Youtube page so you can see all of the great details of this gorgeous travelers notebook!
Thanks for checking out my blog! Bee Happy!!
Supplies Used: We R Memory Keepers 'Inked Rose' 12x12 paper sequin mix sewing machine
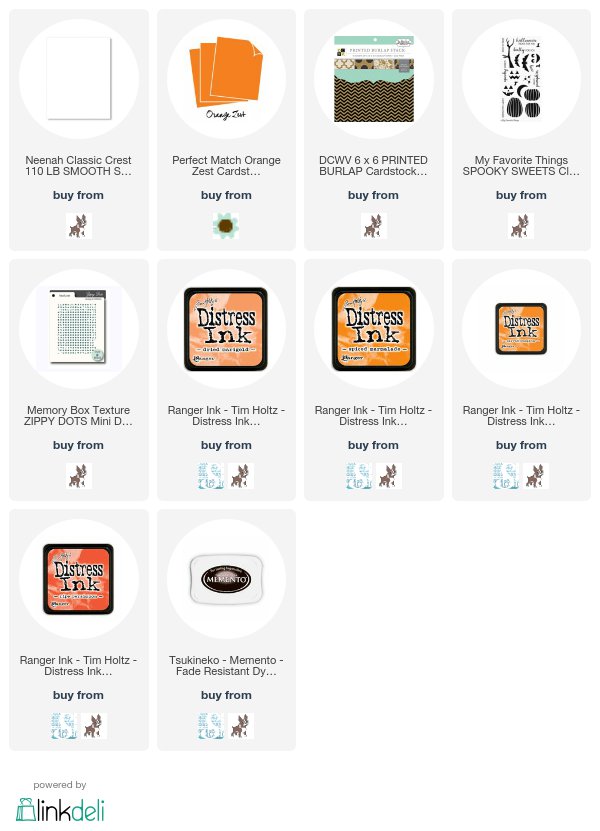
Hi everyone! Halloween is drawing near and this weeks Color Throwdown Challenge #464 is the perfect color combo for a holiday card! I used the colors for my inspiration and opted for some cute bats instead of pumpkins.
Because I love color, I decided to make the most of the orange in the challenge and created an ink blended, ombre background using a stencil. This allows the rest of the stamping to really stand out in silhouette! To accentuate the black even more, I added in shiny enamel stars and tiny black pearls.
All od this was mounted onto a printed burlap 6x6 paper and tied with some fun raffia. After tying the raffia I decided to keep the ends long because I really liked the effect! The background was adhered to an orange card base with some foam tape for a bit of dimension!
Thanks for checking out my blog! Bee Happy!!
Supplies Used: Heidi Swapp Make Pretty Stuff star stickers Say It With Pearls mini pearls Craft Store raffia
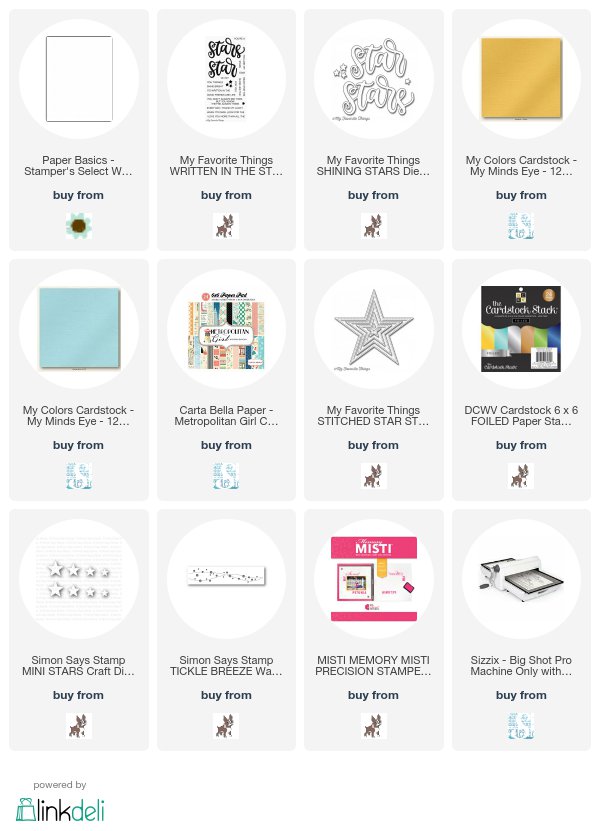
Hi everyone! I can't resist shine and there is lots of it on this pretty card! I combined glimmer and metallic card stocks along with some fabulous dies to create this star filled beauty!
I started with a white background and first die cut the tickle breeze background. That was backed with metallic turquoise paper for shine and I added in more turquoise with the starburst patterned paper in the upper corner.
This card was based around the large 'star' sentiment which was also cut from the shiny metallic paper. I thought it needed a little something else, so I added an additional layer behind it with some glimmer yellow so it would really stand out! The rest of the sentiment was stamped in a dark turquoise.
A bit more yellow was added with a small strip of the glimmer paper and then I started stacking and layering lots of stars in different sizes and colors. All of these fabulous stars make this card happy and fun and of course, full of shine!
Hi everyone! Hope you all are enjoying these first few weeks of Fall. I am loving all of the Autumn decorations and paper crafting I'm seeing and I thought I would get in on the action with a pretty seasonal card!
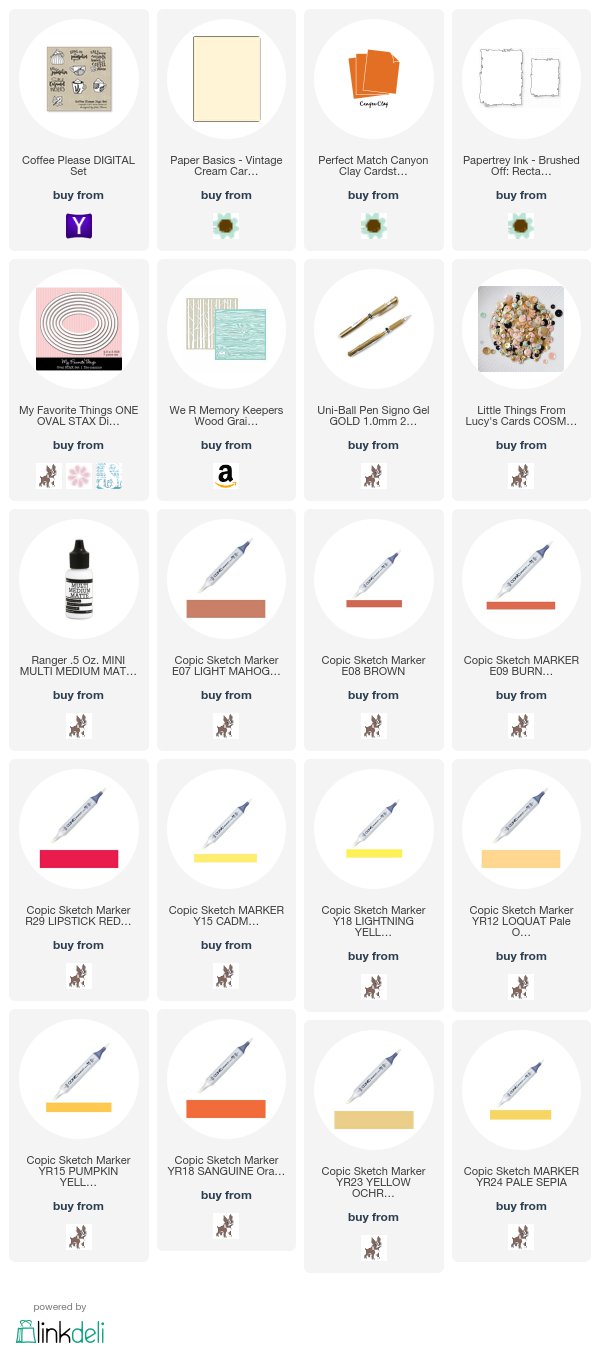
These new digital stamps from Verve Stamps are so adorable and I just could not wait to create with them! There are so many fabulous and fun images to choose form too! I decided to go for a layered look with pumpkins and leaves and enlarged all of the images using photoshop.
Once the images were printed, I colored them all with Copic markers in bold Fall colors and even added a touch of gold to the sweet pumpkins! To fill in some of the cream colored background, I added in some rectangles in orange and green and gave the green one a bit of texture with some dry embossing.
All of the pieces were layered together along with a strip of shiny gold ribbon! I added the sentiment to the side of the background and then tucked in some sequins in gold and green! Such a pretty Fall card!
Thanks for checking out my blog! Bee Happy!!
Supplies Used: Adobe Photoshop American Craft card stock Celebrate It gold ribbon Cartwrights sequins
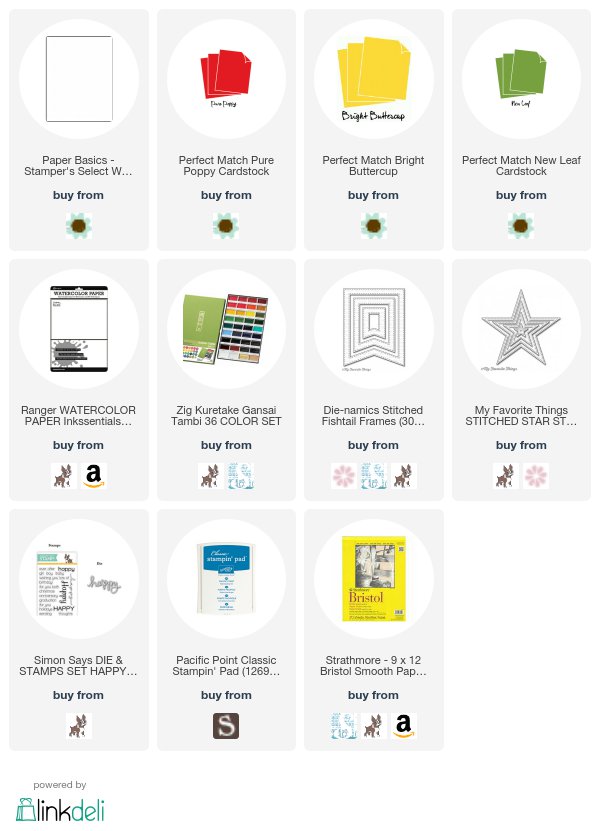
Hi everyone! Another fun watercolor technique on this card- the drip technique! And with these bright colors it's perfect for a birthday card!
This technique is pretty easy but it did take me a couple of tries to get a finished product that I liked. I used Bristol smooth card stock as I wanted the colors to run and drip rather than soak into the paper. Bright watercolors were applied pretty heavily to the top of the paper and blended together just a bit before spraying with water and then holding the paper upright so everything would run. On my first attempt I used A LOT of water and the colors just all ran together and got messy . I used less water for the second try and got a nice run on the colors.
There was still a good amount of white space left on the card stock, so I decided to cut it down a bit by using a fishtail flag die. For even more interest, I cut three separate fishtails and mounted them together on a blue background to really make the colors stand out and add another hue to my rainbow card!
To get all of the rainbow colors, I also added in an orange star and then topped that off with a few smaller stars. The word happy was die cut a few times and layered together for thickness. To bring out more blue I stamped the word birthday onto white card stock and added that to this bright and colorful card!