Pages

Friday, December 16, 2016

Christmas On A Tray!


Hi everyone! I needed some new Christmas decor so of course being the crafty person I am, I made my own! I was inspired by a frame I saw at my local Michaels store and came up with this adorable wall hanging!
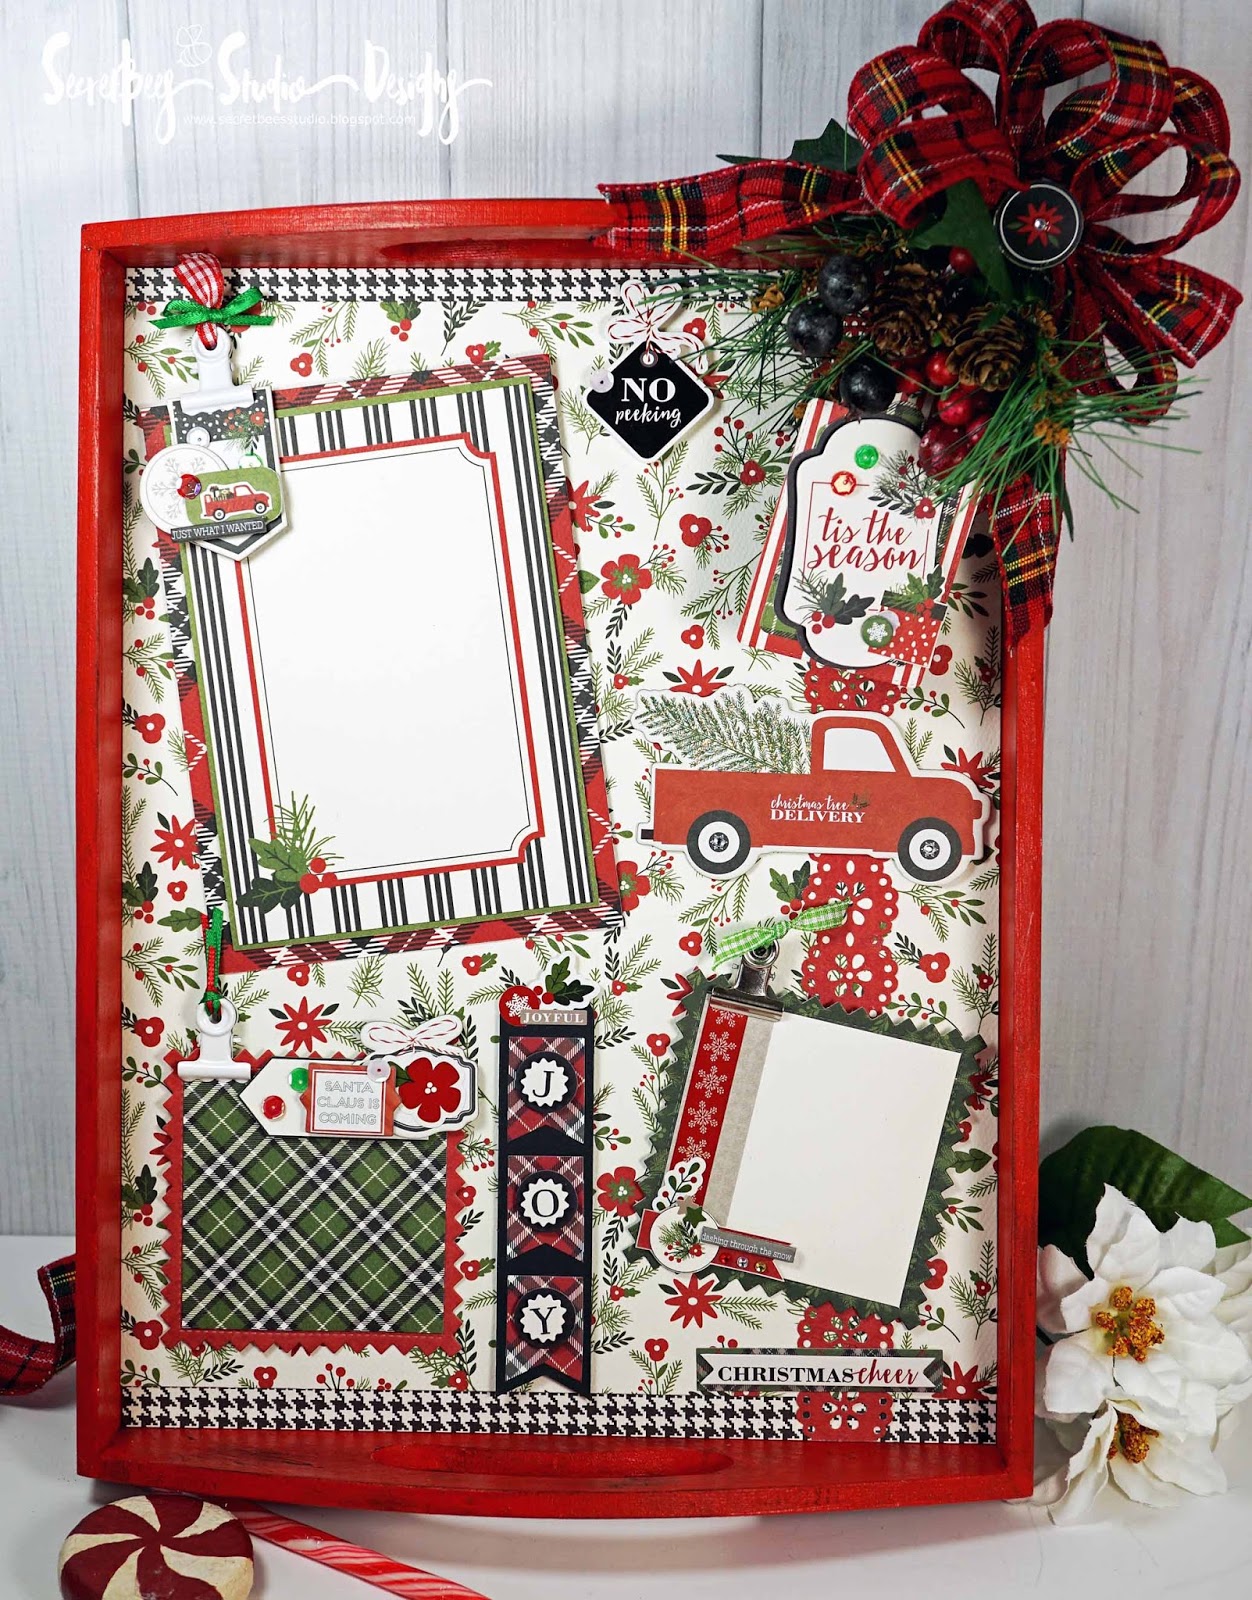

The tray was natural wood and needed to be a brighter Christmas-y color. I chose red because it's my favorite and fit so well with the paper line from Carta Bella that I was using. I distressed it a bit first with a layer of black paint underneath, painted over that  with the red and then sanded a bit.


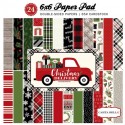
The hard part was choosing which papers would line the tray since all of the ones included with the CB  'Christmas Delivery' collection are adorable! I wanted to be able to change the photos over the years so I created all of the frames to be hung from attached clips which were adorned with their own ribbons and bows! 


I made three frames, one large and two smaller, to hold my treasured photos. The large one features this sweet tag that is layered with some cute pieces of the collection. A picture will slide underneath it and will be held by the clip.


Both smaller frames also have attached tags that aren't completely stuck down so pictures will slide under too! I layered more of the paper collection stickers and chipboard along with my own sequins and gems!


I also added in some additional stickers and chipboard pieces for more fun decoration! I especially love this truck carrying a tree which I glittered up for lots of shine!


The final touches were a fun plaid bow adorning a charming winter spray of berries and pine cones! I even added one of the sticker elements to the center! Hope this inspires you to create some of your own Christmas decor!

Thanks for checking out my blog! Bee Happy!!

Supplies Used:
Carta Bella 12x12 paper collection
Michaels 'Celebrate It' tray, spray, plaid ribbon
Craft Smart acrylic paint
Offray and Raisin Boat ribbon
metal clips from my stash
Kaiser craft gems
Wednesday, December 14, 2016

Tiny Trees!


Hi everyone! A clean and simple Christmas card to share today! These trees may be tiny but they pack a colorful punch! And they are so stinkin' cute!

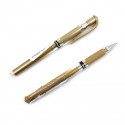
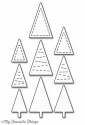
The adorable trees were die cut from white card stock and to add a bit of visual interest I die cut the chevron dot patterns as well. I watercolored a panel in bright red and green and once dry, added in some bold gold stripes using a Signo Gel Pen. 


I arranged sections of the watercolor pieces so the lines were all different and added red and green backgrounds to the chevron patterns too! A simple and sweet sentiment was stamped in red and to accent the gold stripes, I added tiny, shiny stars to the top of the trees!


Thanks for checking out my blog!  Bee Happy!!

Supplies Used:
Celebrate It Gold Stars


Tuesday, December 13, 2016

Sparkly Balls and Boughs!


Hi everyone! I have a beautiful and soft Christmas card for the blog today! This one features the non-traditional color of blue against a backdrop of leafy boughs and sparkly snow! I am entering this card into the #4 Winter Challenge at WherecreativitymeetsC9.com


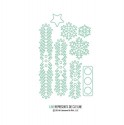
I laid down a watercolor background of soft blue and topped it with some stenciled and glittered snow drops. I've used this technique quite a bit recently but it's just so pretty. Once that was dry, I cut boughs from Concord & 9th's 'O Christmas Tree' die set along with some sparkly snowflakes and layered them over the background. I added in a row of shiny blue Christmas balls and also tucked in some bright, tiny stars.


You can see more of the blue in the ornaments in this picture- they are very striking in person! The sentiment was stamped in bright blue and then embossed in shiny clear powder. I tied it onto the background with shiny silver thread and added a few more stars for accent!


Thanks for checking out my blog! Bee Happy!!

Supplies Used:
DCWV 6x6 Foiled card stock
The Paper Studio glitter and shiny card stock
DMC silver thread

Friday, December 9, 2016

Christmas Houses!


Hi everyone! It's cold here in Colorado so it's a perfect time for a snowy card!  This one features glittery snow, cheery houses and even some poinsettias!


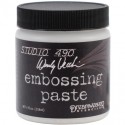
The main background of the card was dry embossed in swirls and then layered with snowy hills. I stenciled snow drops onto the hills with embossing paste and added loose glitter for extra sparkle! Before the houses were tucked into the hills, I added a yellow glittered background for the lighted windows. Makes me just want to look into those warm and toasty homes!


The tiny trees were stacked in shades of green and added to the snowy scene along with a simple sentiment and bright flowers. A sweet Christmas Card!


Thanks for checking out my blog!  Bee Happy!!

Supplies Used:
Copic Markers
American Crafts card stock
Cuttlebug D'vine Swirl embossing folder
Related Posts Plugin for WordPress, Blogger...