Pages

Sunday, September 23, 2018

Slice Of Summer Fun!


Hi everyone! Summer may be drawing to a close (say it isn't so!) but you can preserve all of those wonderful Summer memories in a fun and happy mini scrapbook that is jam-packed with pages, pockets and pull-outs!


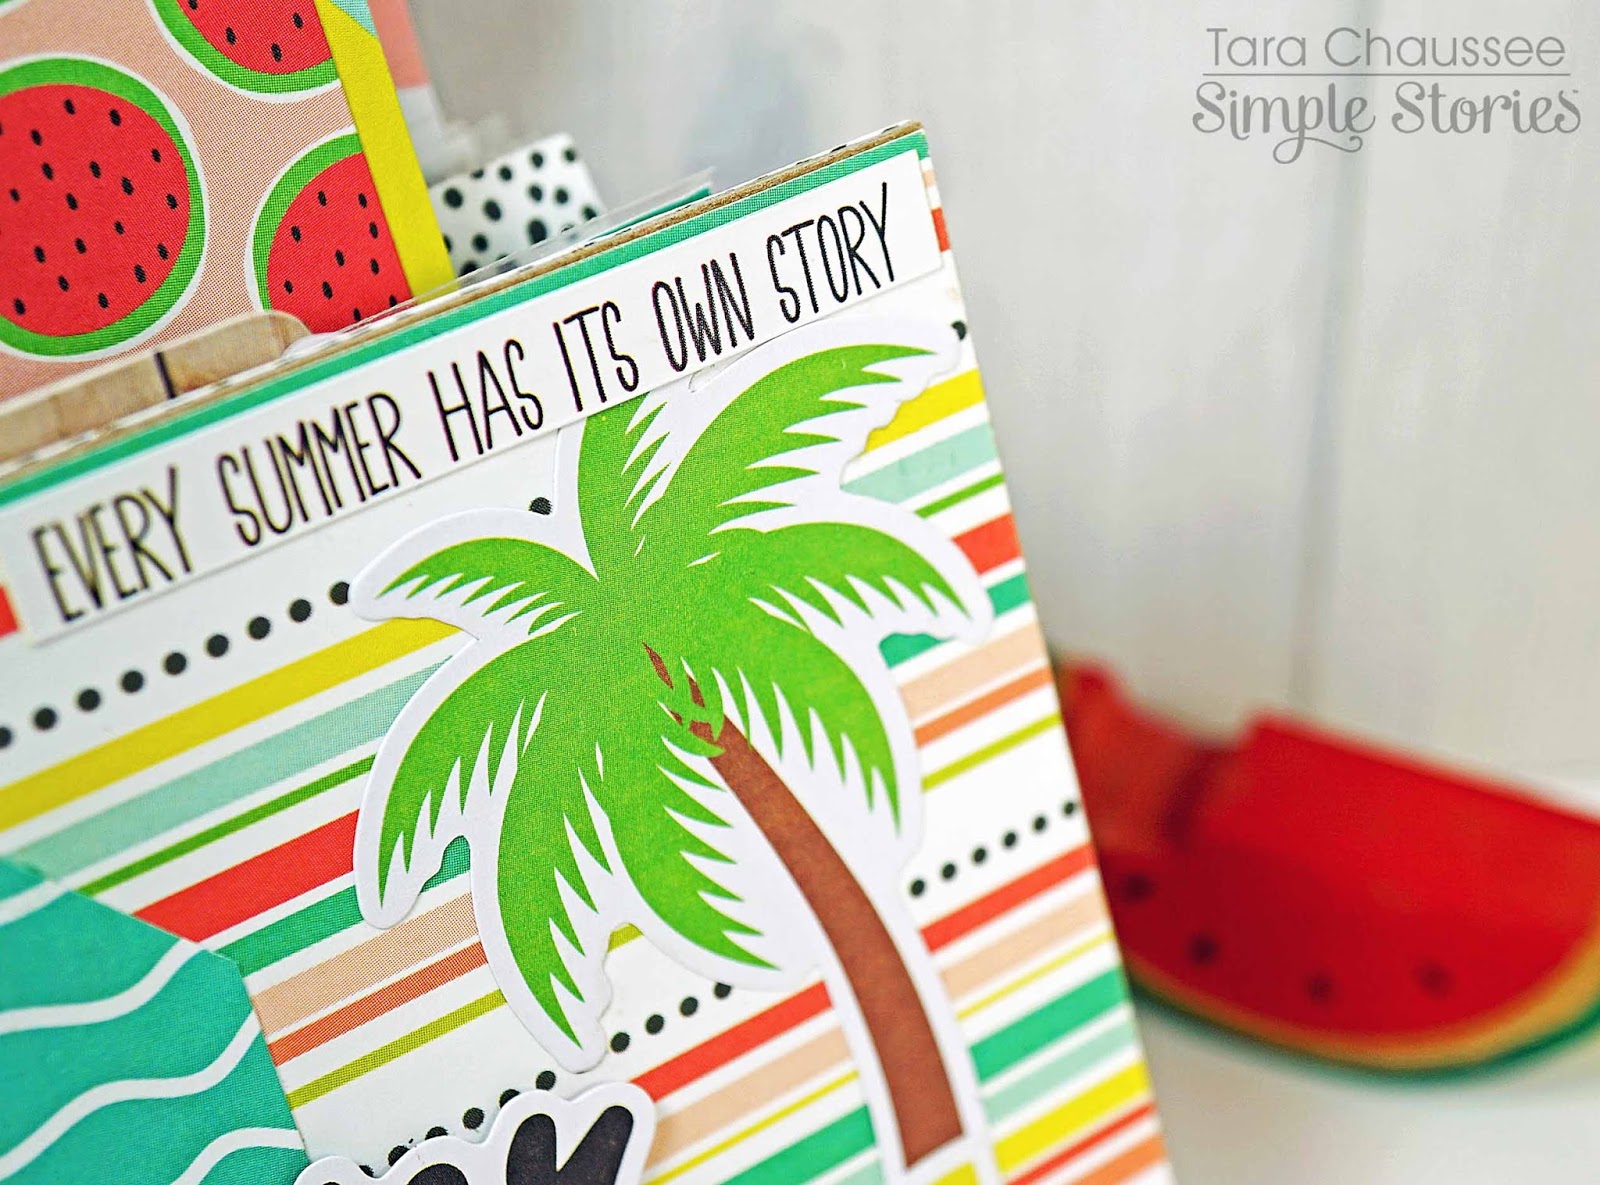
For this adorable mini scrapbook, I used the Simple Stories 'Hello Summer' paper collection with it's amazing mix of sunny colors and bold, playful patterns. There are plenty of fruits, florals and flamingos for every page along with lots of charming summer-inspired sentiments! This collection is all about summer vibes and will document your summer story in the brightest way!


The front and back covers were cut from chipboard to 4.5" x 5.5" using a paper trimmer before being covered with the colorful patterned papers. I used an assortment of stickers, chipboard and bits & pieces layered with the cute word stickers to embellish the front and even added a few to the back cover for fun!


For the inside, I had a mixture of Simple Stories pocket pages that I cut to the desired size- some 3x4, some 4x4 and even one with four 2x2 squares! Some had patterned paper added to them along with delightful ephemera and some were just accented with a sticker or two! There are even a couple of interactive pull-out pages as well


Check out my video on youTube to get a great view of the entire mini scrapbook and don't forget to preserve those Summer memories!


Thanks for checking out my blog! Bee Happy!!

Supplies Used:

Saturday, September 1, 2018

Tell Your Story!


Hi everyone! Due to popular demand, I have made another Traveler's Notebook similar to this one that was a huge hit! However, because I used the stunning and gorgeous 'I Am' paper collection by Simple Stories for this notebook, I decided to make it more of a personal journal!


The 'I Am' collection is all about telling your own personal story and is full of beautiful images, patterns and uplifting sentiments. I was super excited about all of the rose gold foil accents in this collection- they are fabulous! This notebook measures 9 1/4 inches x 6 1/4 inches including the laminate borders. I used the pretty patterned papers to make the cover of my journal as well as some folders with pockets and charming inserts!


Included in my journal are some of the new Carpe Diem Traveler's Notebook inserts so I will have plenty of room to doodle, draw and write. I dressed everything up with all of the exquisite stickers, chipboard and bits & pieces. There are just oodles of pretty things in this collection and they all coordinate beautifully together.


I know this collection has been around for a few months but I wanted to make something really special with it and really personalize it since it would be all about me! I felt so happy and empowered while I was making this lovely notebook since it has the most wonderful affirmations throughout the entire collection!


The most important story you have to tell is the one about you! Believe me, this soft and feminine collection will document your story in the most gorgeous way and will bring out all that is wonderful about you! Since so many people asked for a tutorial on how to make one of these notebooks I could not refuse! There is one over at my YouTube channel that I hope you will check out so that you can make one of these beauties for yourself!


Thanks for checking out my blog! Bee Happy!

Supplies Used:

Monday, August 27, 2018

Ray Of Sunshine!


Hi everyone! what better way to say goodbye to these last beautiful days of Summer than with a bright and shining sun!  Todays card is clean and simple but full of color and shine!


The new Concord and 9th 'Shine On' stamp set and die were used for this simple background. I cut out the sweet little shining sun from white card stock and then embossed the rays around it with  beautiful glitter embossing powder! 


In keeping with the bold color scheme, I stamped the sentiment in black and added in a few starry accents in yellow. For even more shine, I topped off the background with some sparkling sequins before layering it over a bright yellow card base. Easy peasy but super cute!


Thanks for checking out my blog! Bee Happy!!

Supplies Used:

Monday, August 20, 2018

Lots Of Stars!


Hi everyone! I was messing around the other day with some distress inks trying to make a watercolor background I was happy with and not liking any of them. So I stepped away for a bit and when I came back to my workspace I spotted one background that was to my liking. Funny how that works sometimes!


This background had previously had a very light color wash on it and then I was going to add more color so I applied the distress ink minis in hard splotches. This was about the point I gave up and walked away and when I came back this background was all dried and just needed that 'something else'. I didn't want to take away from the texture or color of the background too much so I simply stenciled some iridescent stars with Vicki Boutin's Iridescent Glaze! They just shimmer on the background in such a pretty way!


The next step was to add a thick colored frame around the background and a double stacked word die-cut along with a simple stamped sentiment. A few small stars in coordinating colors were layered on the very top. All in all, coming from a series of backgrounds that I did not like, I think this turned out to be a pretty sweet card!


Thanks for checking out my blog! Bee Happy!!

Supplies Used:

Thursday, August 16, 2018

Lovely Flower!


Hi everyone! There is a new Color Throwdown Challenge this week with a pretty palette of pastels! I didn't have a lot of time on my hands so I created a very clean and simple card that is very pretty and charming!


I started by stamping this lovely flower image onto white card stock in gray. I knew I would be coloring these tiny areas with Copic markers so to make it easier, I also clear embossed the image as well. I stamped the sentiment in the same gray and added in the tiny hearts to match the color of the flower. 


The stamped background was layered with some pretty patterned paper in gray over a peach card base. The final accent were some tiny shiny sequins in the aqua challenge color!


Thanks for checking out my blog! Bee Happy!!

Supplies Used:


Sunday, August 12, 2018

In The Clouds!


Hi everyone! Today on the blog I am sharing a soft and pretty card for the new Color Throwdown Challenge #505! This week the color palette is nice and soft with pretty pastels.


I love the quirky little houses in this stamp set by Studio Katia and they are perfect for coloring! I used Copic markers in the challenge colors to decorate these cuties and then gave each a bit of shine with a Wink of Stella glitter pen.


I mounted the houses onto a starry background and layered them with fluffy pink clouds that also have a bit of glitter on them! For even more detail, I added a decorative corner and a few shiny sequins!


Thanks for checking out my blog! Bee Happy!!

Supplies Used:
Fiskars decorative scissors

Thursday, August 9, 2018

Happiness Blooms From Within!


Hi everyone! One of my favorite things of summer are all of the beautiful flowers! I so enjoy creating my own pots of flowers and watching them bloom and blossom over the season. A little part of me is always sad to see them go so I created a bouquet of paper flowers that will last forever!


For this adorable paper cone bouquet I used the lovely Simple Stories 'Bloom' paper collection along with lots of the coordinating embellishments for a lush and full arrangement. The large flowers were cut with Silhouette cut files and large flower dies. I also stuffed in a few sweet rolled flowers made with some smaller dies. I attached my flowers to wooden sticks and then used hot glue to make sure they all stood up in the bouquet.


To go along with the blooms, I added in a few of the lovely stickers of the collection and highlighted them with other goodies like the 'Bits and Pieces' die cuts and small word sentiments. For even more charm, I added in beautiful paper curls made from the patterned papers!


The tag on the outside of the paper cone was made with a couple of the die cut pieces and I simply added a word sticker, a rolled rose and a bit of twine. I used a bit of thicker adhesive to add dimension to the tag before attaching it to the cone.  I attached a handle to the back of the cone to make this into a lovely door hanger I can enjoy long after my summer pots of flowers are gone!


Thanks for checking out my blog! Bee Happy!!

Supplies Used:
My Favorite Things Botanical Beauty dies (retired)
twine
wooden skewers
Related Posts Plugin for WordPress, Blogger...